Cleaning Car Battery Terminals: A Step-by-Step Guide
Introduction
Maintaining clean battery terminals is a crucial aspect of car maintenance that often goes overlooked. Dirty or corroded battery terminals can significantly impact your vehicle’s performance and battery life. This guide will walk you through the importance of cleaning your car’s battery terminals and provide a step-by-step process to do it safely and effectively.
Why Battery Terminal Cleaning is Important
Clean battery terminals ensure a strong, uninterrupted flow of electricity from your battery to your car’s electrical systems. When terminals become dirty or corroded, they can:
- Interfere with your car’s ability to start, leading to frustrating mornings and potential breakdowns.
- Reduce the efficiency of your car’s electrical systems, affecting everything from headlights to radio performance.
- Shorten your battery’s lifespan, leading to premature replacement and unnecessary expenses.
- In severe cases, cause damage to other electrical components in your vehicle.
Regular cleaning of your battery terminals can prevent these issues, ensuring your car starts reliably and operates at peak efficiency.
How Often Should You Clean Car Battery Terminals?
The frequency of cleaning your car battery terminals depends on several factors, including your driving habits, climate, and the age of your battery. As a general guideline:
- Inspect your battery terminals every 3-4 months for signs of corrosion or dirt buildup.
- In areas with high humidity or extreme temperatures, more frequent checks (every 1-2 months) may be necessary.
- If you notice any starting issues or electrical problems, check your terminals immediately.
- Plan to clean your terminals at least once a year as part of your routine car maintenance.
Signs Your Battery Terminals Need Cleaning
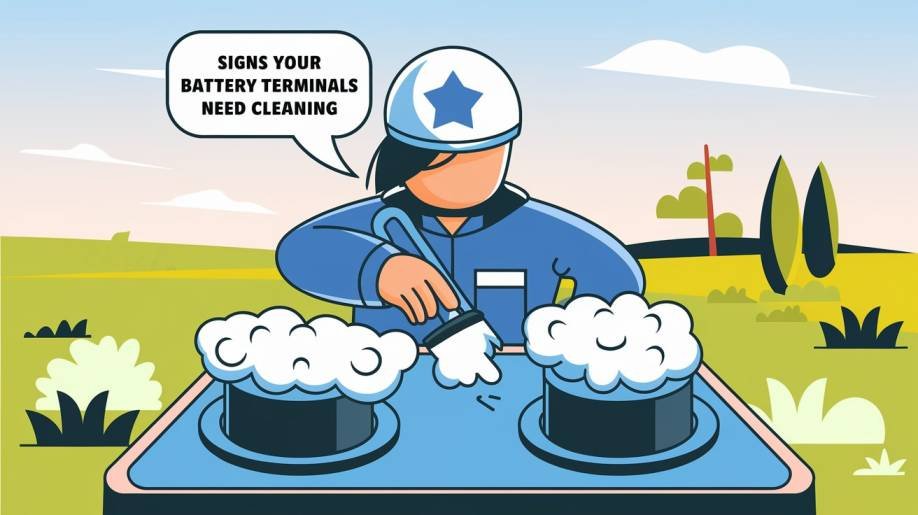
Recognizing the signs of dirty or corroded battery terminals can help you address the issue before it leads to more significant problems.
Corrosion Build-Up
The most visible sign of battery terminal issues is the presence of corrosion. This typically appears as a white, ashy, or bluish-green substance around the battery terminals. Corrosion is caused by a chemical reaction between the battery acid and the metal terminals, and it can significantly impede the flow of electricity.
Difficulty Starting the Car
If you notice your car is struggling to start, especially on cold mornings, dirty battery terminals could be the culprit. The corrosion or dirt acts as an insulator, preventing the full power of the battery from reaching the starter motor.
Dim Lights or Electrical Issues
When battery terminals are dirty, your car’s electrical systems may not receive the full voltage they require to operate optimally. This can manifest as dimmer than usual headlights, dashboard lights that flicker, or other electrical components (like power windows or the radio) functioning erratically.
Battery Life Reduction
Consistently dirty terminals force your battery to work harder to provide the necessary power to your car’s systems. This increased strain can significantly reduce your battery’s lifespan, leading to premature failure and the need for early replacement.
Tools and Materials Needed
Before you begin the cleaning process, gather the following tools and materials:
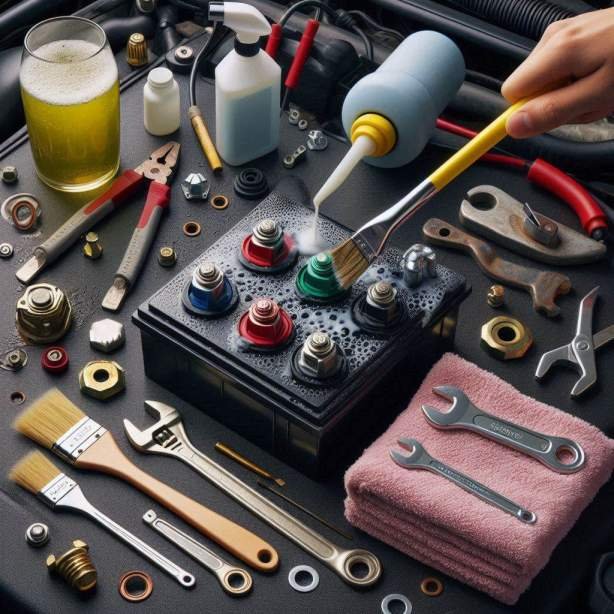
Basic Tools:
- Adjustable wrench or socket set
- Wire brush or terminal cleaning tool
- Flathead screwdriver
- Pliers
Cleaning Supplies:
- Baking soda
- Water
- Old toothbrush or small cleaning brush
- Clean cloth or paper towels
- Spray bottle (optional)
Safety Gear:
- Safety goggles
- Rubber gloves
- Old clothes or work apron
Additional Items:
- Petroleum jelly or terminal protector spray
- Battery terminal cleaner solution (optional)
Preparation Before Cleaning
Safety First
Working with car batteries requires caution due to the presence of corrosive acids and the potential for electrical shock. Before you begin:
- Ensure your car is parked on a level surface with the engine off and the keys removed from the ignition.
- Put on your safety goggles and rubber gloves to protect against acid splashes or electrical discharge.
- Remove any metal jewelry (watches, rings, bracelets) to prevent accidental short circuits.
- Work in a well-ventilated area to avoid inhaling any fumes.
Disconnect the Battery
Proper disconnection of the battery is crucial for safety:
- Locate the negative (-) and positive (+) terminals. The negative terminal usually has a black cover or cable, while the positive terminal is typically red.
- Using your wrench or socket set, loosen the nut on the negative terminal first.
- Carefully remove the negative cable from the terminal and secure it away from the battery to prevent accidental contact.
- Repeat the process for the positive terminal.
Remember: Always disconnect the negative terminal first and reconnect it last to prevent short circuits.
Bajaj Freedom Bike: 300+ Km* Eco-Friendly Commuting
Introduction In a world increasingly focused on…
Top Sedan in India 2024 | Top 7 Sedans in India
When it comes to purchasing a new…
How Tata Revotron Engine Achieves Superior Fuel Efficiency
Introduction The Tata Revotron engine series represents…
Step-by-Step Guide to Cleaning Battery Terminals
Inspect the Battery for Damage
Before cleaning, carefully examine the battery for any signs of damage:
- Look for cracks or leaks in the battery casing.
- Check for any bulging or swelling of the battery.
- Ensure the terminals are not loose or excessively corroded.
If you notice any of these issues, it’s best to have your battery professionally inspected or replaced before proceeding with cleaning.
Make a Cleaning Solution
Create a simple, effective cleaning solution using baking soda and water:
- Mix about 1 tablespoon of baking soda with 1 cup of warm water in your spray bottle or a small bowl.
- Stir until the baking soda is fully dissolved.
This solution helps neutralize battery acid and break down corrosion effectively.
Scrub the Terminals
Using your homemade solution and a brush:
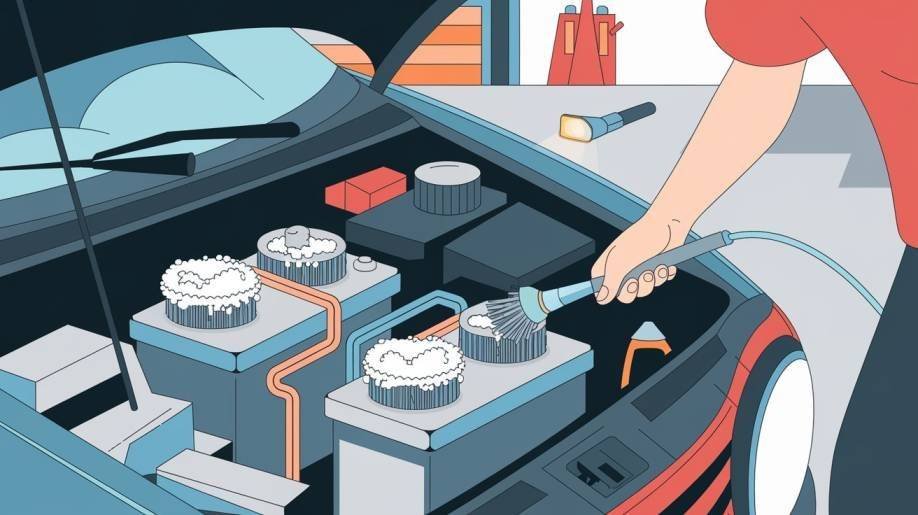
- Apply the baking soda solution generously to the terminals and cable ends.
- Scrub the terminals and cable connectors thoroughly with your wire brush or old toothbrush.
- Pay special attention to areas with visible corrosion, ensuring you remove all the build-up.
- If corrosion is severe, you may need to repeat this process a few times.
Rinse with Water
After scrubbing:
- Use a small amount of clean water to rinse the terminals and cable ends.
- Be careful not to let excess water drip into other parts of the engine compartment.
- A spray bottle can help control the amount of water used.
Dry the Terminals
Thoroughly dry the cleaned areas:
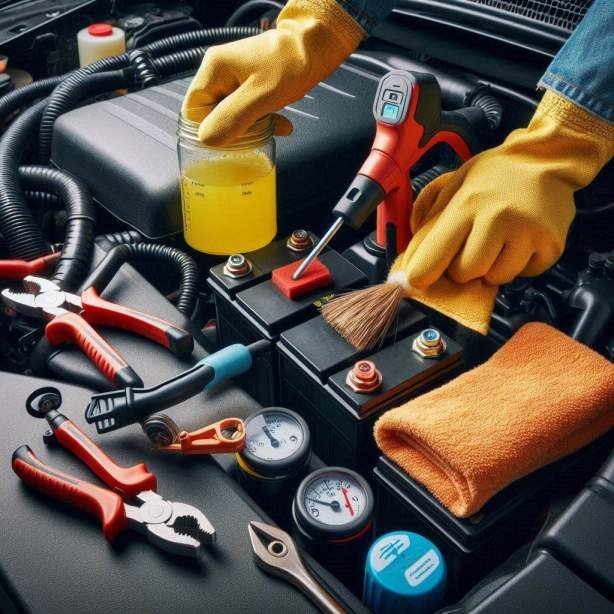
Use a clean cloth or paper towels to wipe away any remaining moisture.
Ensure both the terminals and cable ends are completely dry to prevent new corrosion from forming.
Reconnect the Battery
With clean and dry terminals, it’s time to reconnect your battery:
- Start with the positive (+) terminal:
- Place the positive cable end onto the terminal.
- Tighten the nut securely with your wrench, ensuring a snug fit without over-tightening.
- Follow with the negative (-) terminal:
- Connect the negative cable end to its terminal.
- Tighten the nut securely.
- Double-check both connections to ensure they’re tight and secure.
Apply Petroleum Jelly
To help prevent future corrosion:
- Apply a thin layer of petroleum jelly or specialized battery terminal grease to both terminals and cable ends.
- This creates a protective barrier against moisture and acid vapors.
- If using a terminal protector spray, follow the product instructions carefully.
Common Mistakes to Avoid
When cleaning battery terminals, be aware of these common pitfalls:
Using Too Much Water
Excessive water can lead to electrical issues and potential short circuits. Use just enough to rinse away the cleaning solution and corrosion. If water enters the battery cells through the vents, it can dilute the electrolyte and damage the battery.
Not Disconnecting the Battery
Working on connected battery terminals risks short circuits and electrical shocks. Always disconnect the battery before cleaning, starting with the negative terminal.
Skipping Inspection for Damage
Failing to check for battery damage before cleaning can be dangerous. Cracks or leaks in the battery casing can lead to acid exposure or electrical hazards.
Using the Wrong Tools
Avoid metal tools that can cause sparks. Stick to plastic brushes or specialized battery cleaning tools to prevent accidental short circuits.
Neglecting Safety Gear
Always wear protective gloves and eyewear. Battery acid and corrosion can be harmful to skin and eyes.
Preventive Maintenance Tips
Regular Inspections
Perform visual checks of your battery terminals every few months. Look for early signs of corrosion or dirt buildup. Catching issues early makes cleaning easier and prevents more serious problems.
Battery Terminal Protectors
Consider using commercial battery terminal protectors or anti-corrosion felt washers. These products create a barrier between the terminal and cable end, reducing corrosion buildup.
Keeping the Area Clean
Regularly clean the area around your battery to prevent dirt and debris accumulation. This can help reduce the frequency of terminal cleanings.
Proper Battery Charging
Maintain proper battery charge levels. Undercharged batteries are more prone to corrosion. If you frequently take short trips, consider using a battery maintainer.
When to Replace the Battery
While regular cleaning can extend battery life, sometimes replacement is necessary:
Frequent Corrosion Build-Up
If you notice corrosion returning quickly after cleaning, it could indicate an aging or failing battery. Excessive corrosion might suggest it’s time for a replacement.
Battery Age
Most car batteries last 3-5 years. If your battery is approaching or exceeding this age range, and you’re experiencing issues, consider replacement.
Consistent Electrical Problems
If cleaning the terminals doesn’t resolve starting issues or electrical problems, your battery might be failing and need replacement.
Physical Damage
Any signs of physical damage, such as cracks, bulges, or leaks, warrant immediate battery replacement.
Conclusion
Recap the Importance of Battery Terminal Cleaning
Maintaining clean battery terminals is a simple yet crucial aspect of car maintenance. Regular cleaning:
- Ensures reliable starting and optimal electrical system performance
- Extends battery life, saving you money on premature replacements
- Prevents potential damage to other electrical components in your vehicle
By incorporating this task into your routine maintenance, you’re taking a proactive step in keeping your vehicle running smoothly and efficiently.
Final Tips for DIY Enthusiasts
- Combine terminal cleaning with other under-hood maintenance tasks for efficiency
- Keep a log of your cleanings to track the frequency of corrosion buildup
- If you’re unsure about any step in the process, don’t hesitate to consult a professional
Remember, a little preventive maintenance goes a long way in ensuring your car’s reliability and longevity.
FAQs (Frequently Asked Questions)
How often should I clean my car battery terminals?
Generally, clean your battery terminals every 6-12 months. However, inspect them every 3-4 months and clean as needed, especially if you notice starting issues or live in extreme climates.
What causes battery terminal corrosion?
Corrosion is primarily caused by hydrogen gas released from battery acid reacting with the surrounding air. Factors like high temperatures, overcharging, and age can accelerate this process.
Can I use household items to clean battery terminals?
Yes, a mixture of baking soda and water is an effective and safe cleaning solution. However, for severe corrosion, you might need a commercial battery cleaner.
Is it safe to clean battery terminals while the battery is connected?
No, always disconnect the battery before cleaning to prevent short circuits and potential injury. Disconnect the negative terminal first, then the positive.
How do I know if my battery needs replacement instead of just cleaning?
If you experience persistent starting issues, dim lights, or if your battery is more than 3-5 years old, it might be time for a replacement. A professional can perform a load test to determine your battery’s condition.




Post Comment